Session 2 picks up the Session 1 project. We import a detailed SketchUp model of the same theatre into DISPLAY 3, fix the two problems imported models nearly always have, then finish the design with front fill, under-balcony delays and subwoofers.
- Date
- Tuesday 24 November 2026
- Length
- 1 hour 45 minutes: a 90-minute presentation, then 15 minutes of live Q&A
- Where
- Online, free to attend
Missed Session 1? Watch the recording first, so you can follow the same project.
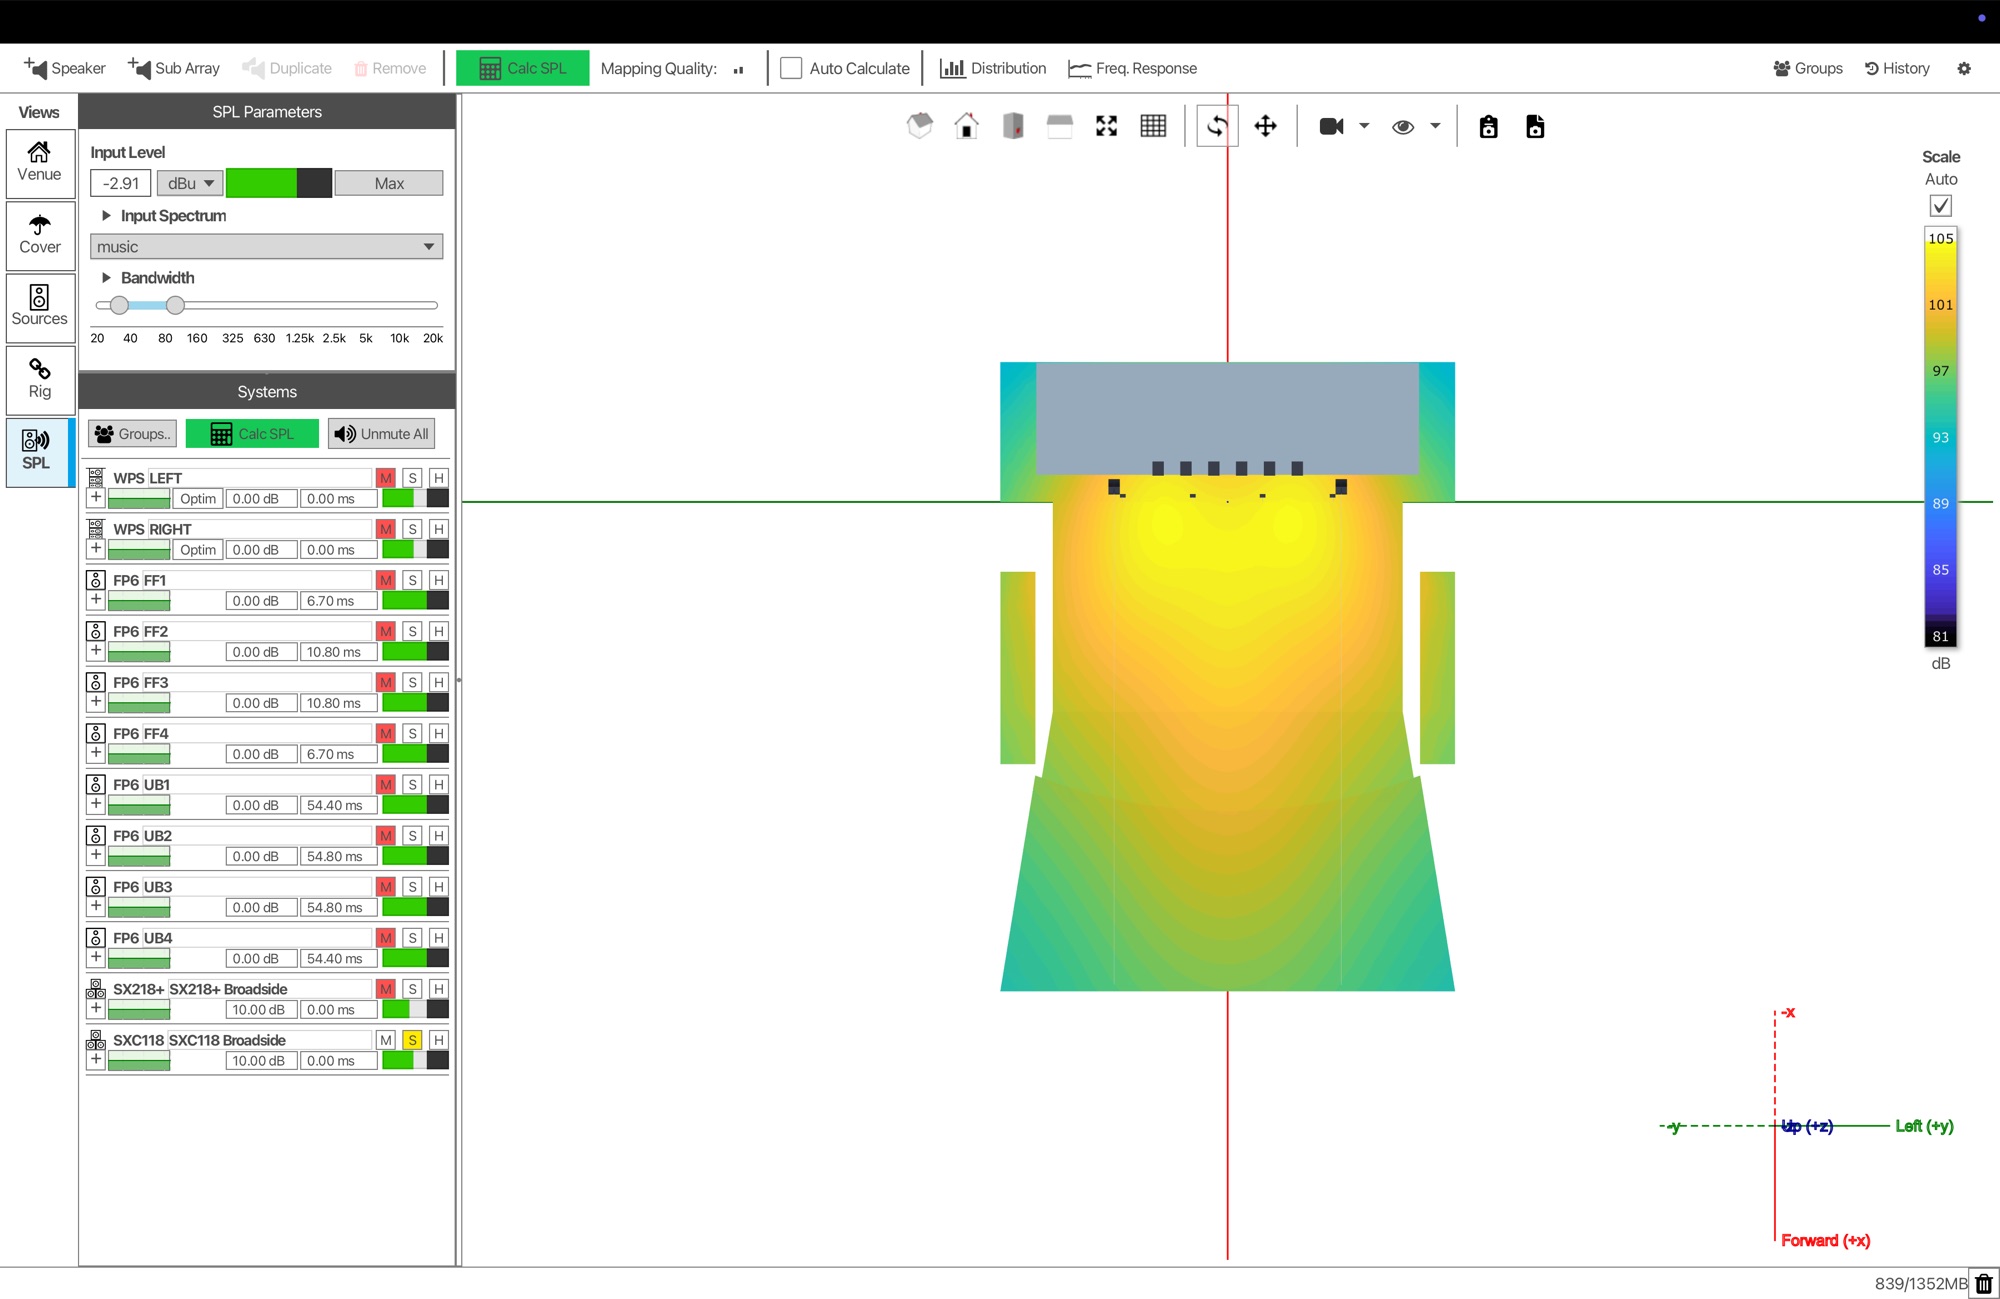
DISPLAY 3, top view: six SXC118 subwoofers on the tension wire grid, 30 to 100 Hz
What you will be able to do afterwards
We carry on with the project from Session 1, so everything you learned there still applies.
Import a SketchUp venue
Bring in only the tags you need, then correct the model's orientation and layers in DISPLAY 3.
Complete the system
Add front fill, under-balcony delays and subwoofers around the main hangs, with their delay times worked out.
Verify the whole design
Prove the system meets its coverage requirements, and check its limits, rigging and processing.
What we will cover
One project, start to finish, in the order you would work in DISPLAY 3.
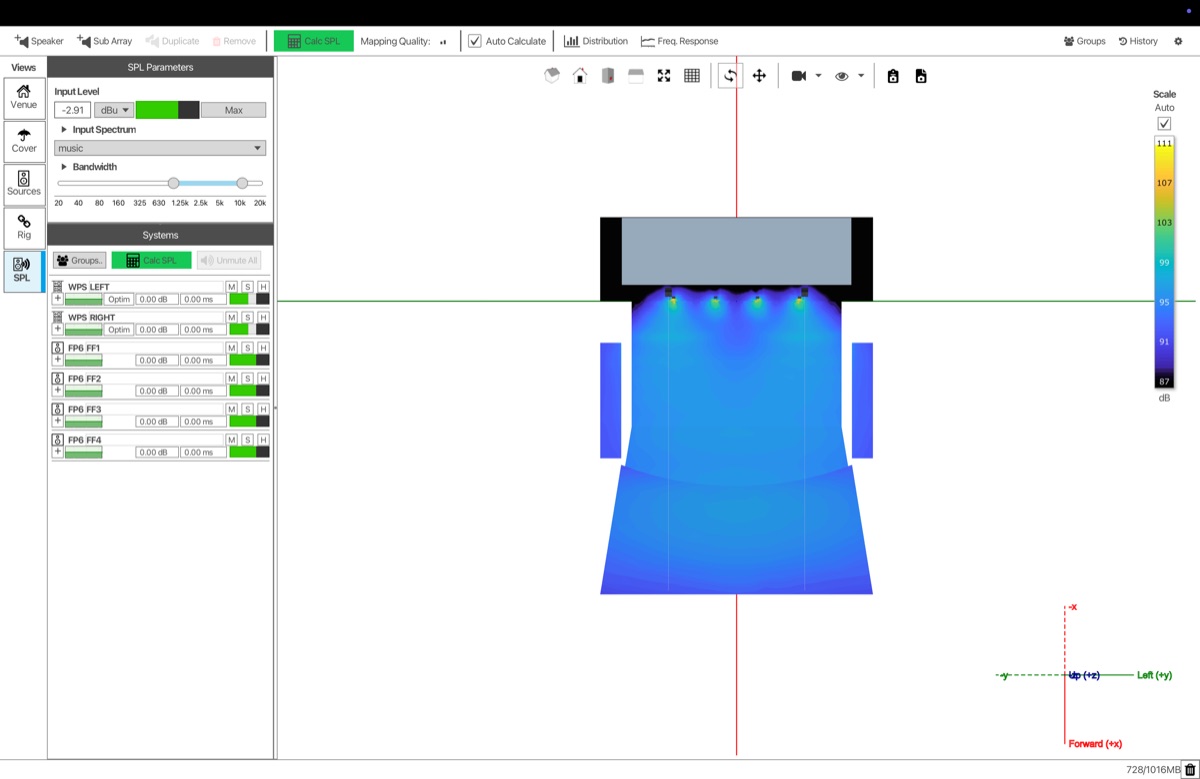
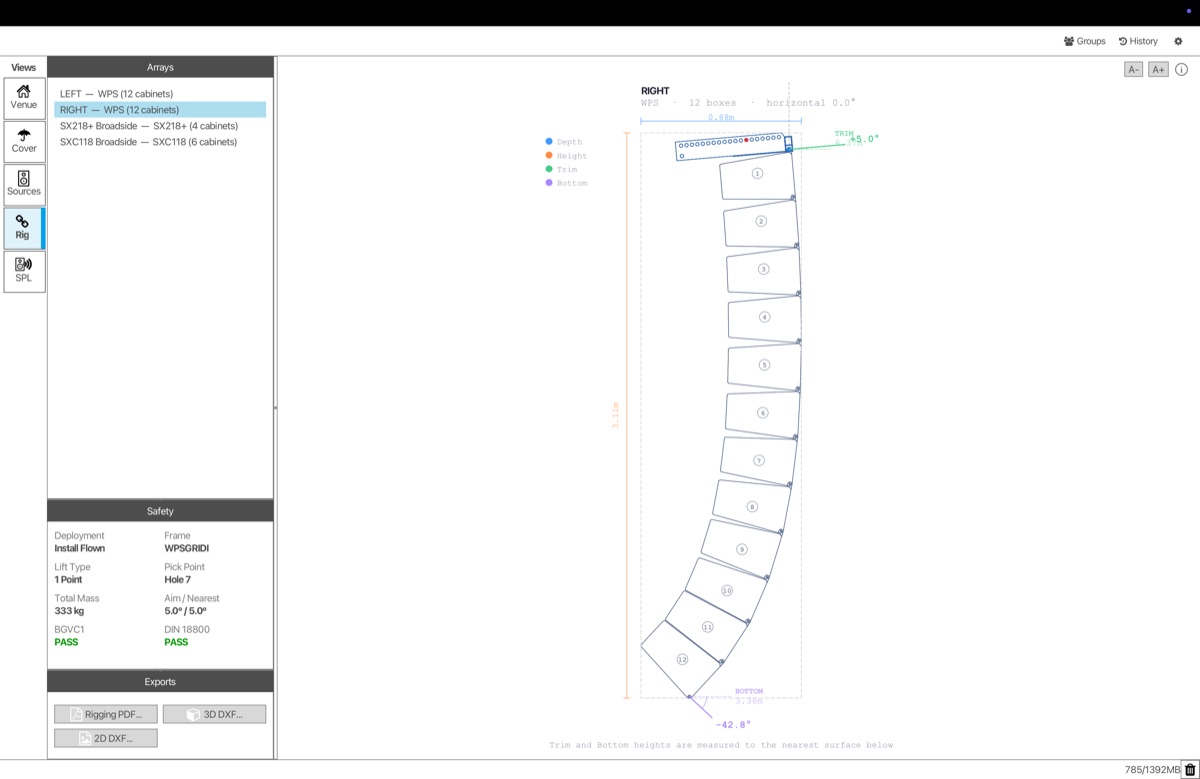
Where Session 1 finished
The optimised WPS hangs, and the two gaps left to fill: the centre front rows and the seats under the balcony.
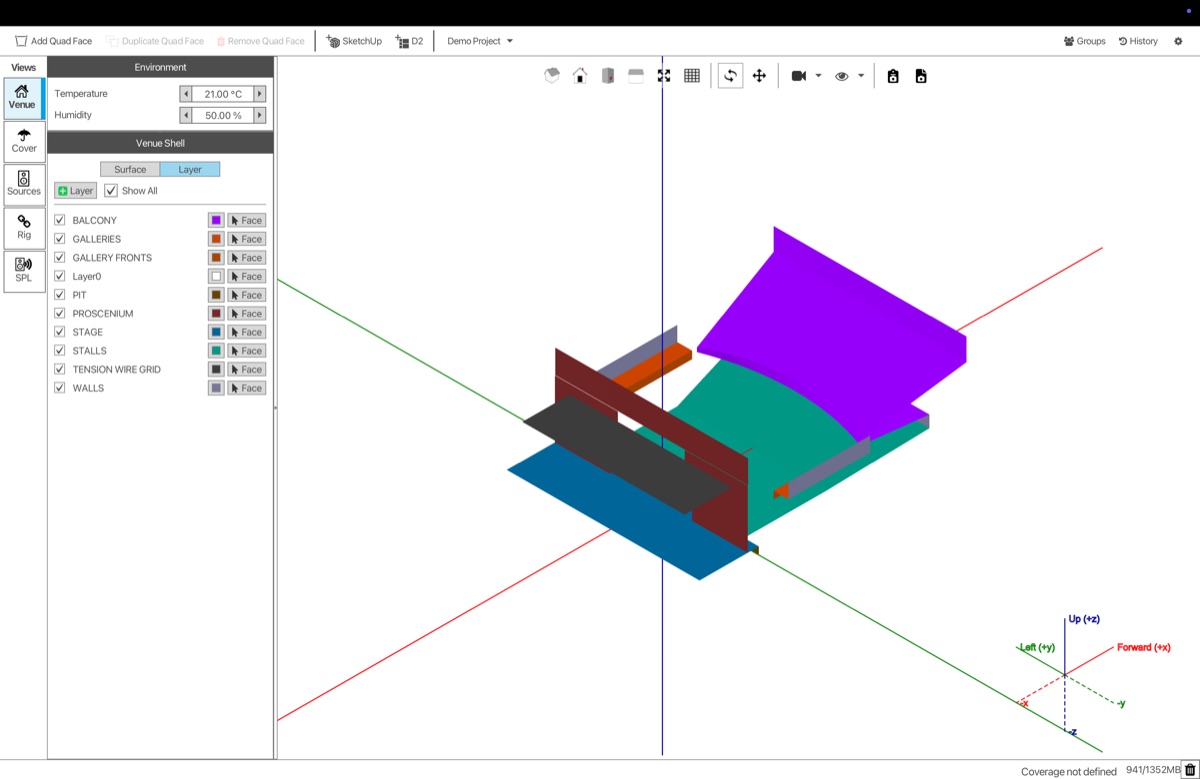
Importing from SketchUp
Choosing which tags to bring in, and fixing a model that arrives on the wrong axis.
Fixing the layers
Splitting a balcony drawn on a single tag, so coverage can be set in a few moves.
Covering the new venue
The Coverage Tool: drag each layer onto Audience or Avoid.
Front fill
Four FP6s on the stage lip, mirrored across the centre line, with their delay times calculated.
Under-balcony delays
Four FP6s under a low soffit, aimed at the back rows and time-aligned to the mains.
Proving it with Distribution
The complete system against the mains on their own, as a number rather than a picture.
Two ways to add subwoofers
An SX218+ ground array under the stage lip, then a better option: SXC118 cardioid subs on the tension wire grid.
Sub level and limits
Matching the subs to the mains at the mix position, and checking the mains still reach their limit first.
Rigging and processing
Safety checks for the hangs, and the per-box gain and delay for each sub array.
Your questions
15 minutes of live Q&A with Paul.
Who it is for
Ideal if you joined Session 1. If you didn't, watch its recording first: we build on the same project.
System designers and consultants
Work from the architect's model and design the whole system, not just the mains.
Integrators and installers
See where fills, delays and subs go in a real theatre, and the processing each one needs.
Production and rental engineers
Learn the checks that prove a design works before it reaches the venue.
Register for Session 2
Session 2 runs twice on Tuesday 24 November, with the same content in both. Choose the time that suits you. You will get your joining link by email after registering.
Session 2 is part of the DISPLAY 3 webinar series. Session 1 is available to watch now.
Each time has its own registration page. Register for the one you will attend.